
Irrigation : BERRY ADD-ON KIT
$89.95
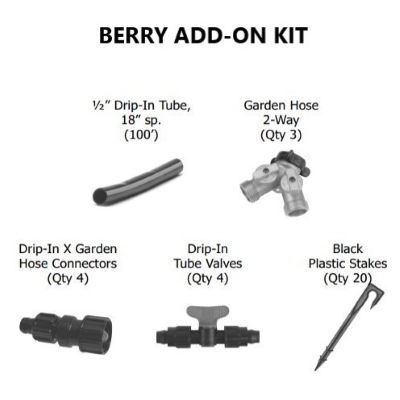
Ideal for short rows of closely spaced plants such as raspberries or strawberries which really benefit from regular watering. Contains 100' of Drip-in tubing as well as the fittings you'll need. Includes lay-out and assembly instruction.
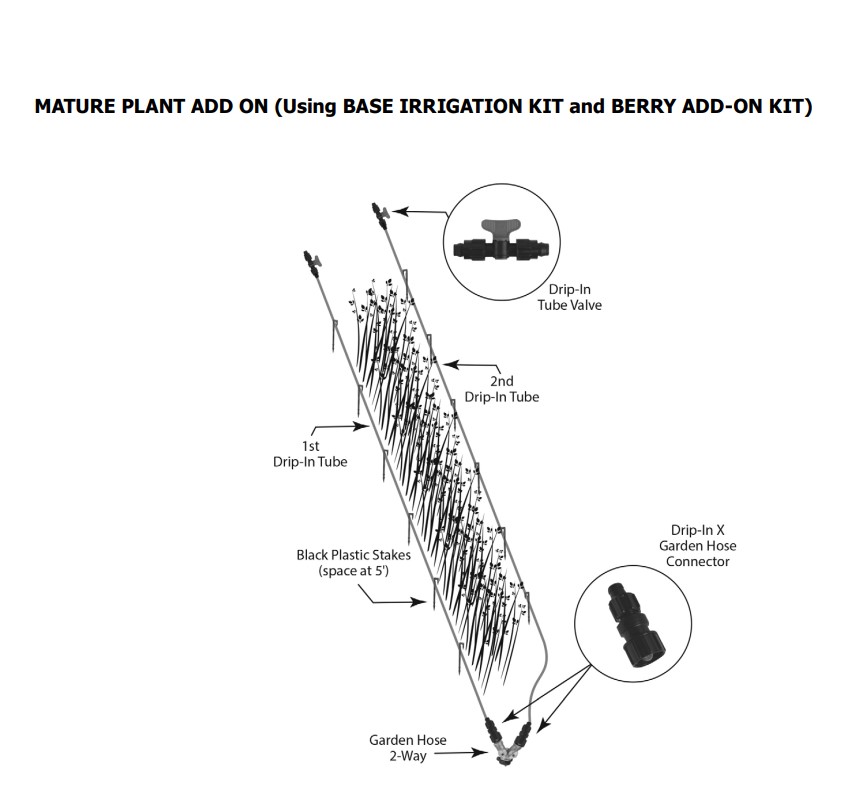
1. Using the Black Plastic Stakes, secure the tubing to the ground with blue stripe turned up. Space the stakes at approximately 5’ apart.
2. Go to the end of your Drip-In Tube that you intend to connect to your water source.
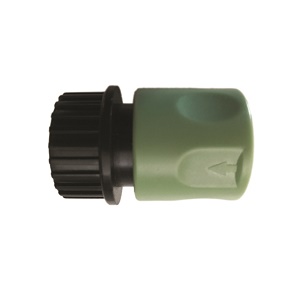
3. Pick one Drip-In Tube X Garden Hose Connector.
4. Find the end with a Barb and Nut and turn the nut counter-clockwise against the octagon shaped body.
5. Force the Drip-In Tubing over the exposed barb and into the neck of the nut.
6. When completely inserted, hold Drip-In Tubing firmly in place and thread nut clockwise over top of Drip-In Tubing until tight. If you have two rows of plants, repeat this process on the second line.
7. Find the Drip-In Tube Valves in your kit.
8. Thread any one of the nuts against the main body.
9. Ensure the valve is open.
10. Fasten Drip-In Tube Valves to the far end of Drip-In Tube (both, if you have 2 lines).
11. Fasten one of the outlets on the Garden Hose 2-Way to the Drip-In Tube X Garden Hose Connector.
12. Repeat step 11 if you have two rows.
13. Open the tap on your water source and let your system flush for 30 seconds.
14. Close all Drip-In Tube Valves and your system will pressurize and start irrigating.
Only logged in customers who have purchased this product may leave a review.

What is Orchard Grade?
What is a 2 year old tree?
All our trees are planted in the field in the spring as rootstock. They are grafted in August of the 1st year. Most of our trees are dug out in November of the 2nd year. Some trees are in the ground for another season. We dig these in November of the 3rd year. These are considered to be '2 year old trees'.
A '2 year old tree' has bigger roots, a thicker trunk, and more branching (They might start fruiting a year earlier).
Reviews
There are no reviews yet.